In this article, you will find out how to use contrast in photography, more specifically how to use contrast in photo editing/post-production. Find out one of my favorite ways to use contrast when you want to make my photos sharper or softer.
By playing with contrast you can not only make an image stronger but also softer, giving it a “dreamy look”.
Don’t worry, everything will be clearer to you soon.
Here are the themes we will address in this article:
- What is contrast and how to use it in Lightroom
- How to make your photos more impactful
- An overview of the tools to use
- How to create a dreamy effect
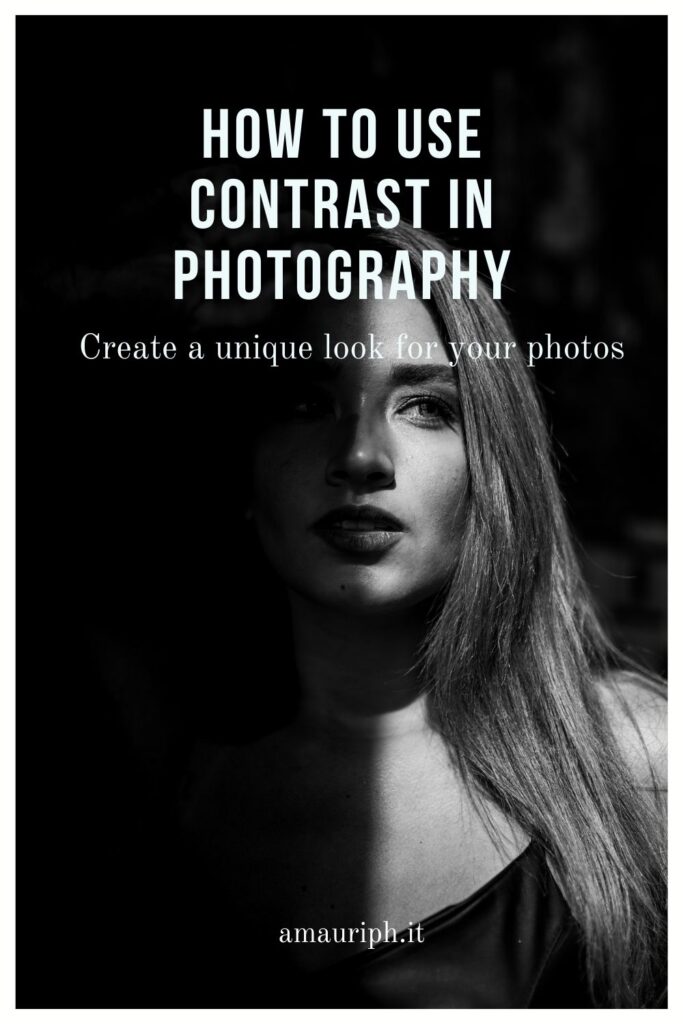
How to use contrast in Lightroom
Let’s start with the basics. What am I referring to when I talk about contrast? This editing feature that is present in Lightroom can be also found in all existing photo editing apps and even on Instagram. Have you ever noticed it? Perhaps you have already used it without knowing exactly how to adjust settings.
In general, contrast is used in photography to increase the perception of depth in a photo and avoid the classic “flat shot.” You should note that the final effect is achieved by combining several tools. While modifying contrast it is also necessary to modify shadows, highlights, and sometimes sharpness.
We will gradually see everything, don’t worry. For now, let’s focus on the first point: what does the contrast tool do?
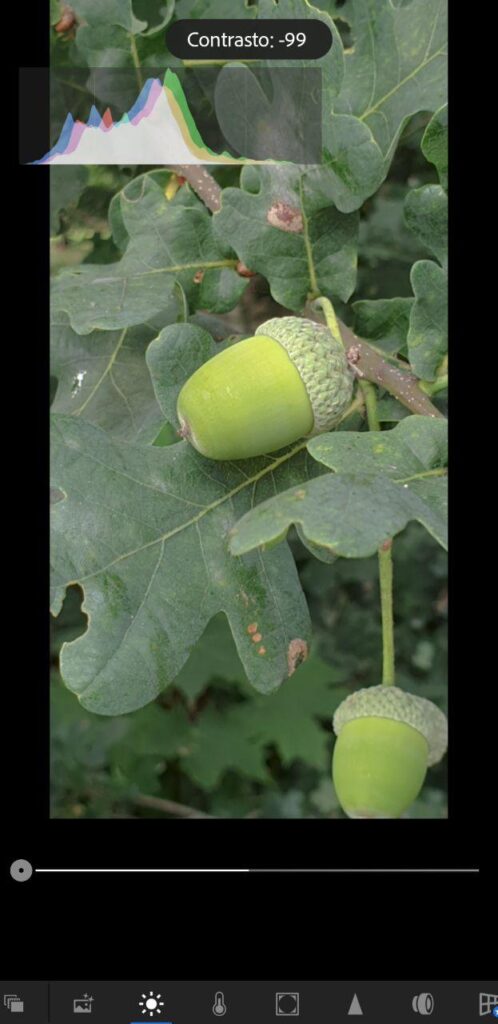
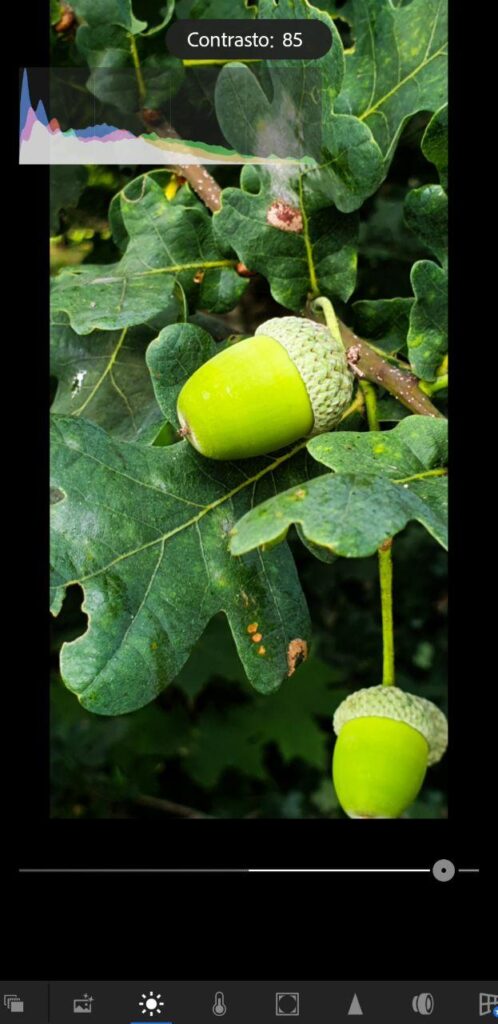
As you can see in the images above, if you add contrast, the image will tend to become darker and more saturated with color. Decreasing the contrast results in a duller and lighter effect, as you can see in the image on the right. A good indication is also found in the upper left histogram that shows the actual changes.
As you probably already know, a balanced image will never have the histogram all shifted to the left or right, but it will be balanced even if more tending towards one extreme.
The art lies in knowing how to find the right balance between all of these elements. You can’t just copy the same setting on all your photos and expect them to be perfect. Each one will have been exposed differently and this will affect the final result.
That’s why creating Lightroom presets that work flawlessly on all images is a non-trivial challenge. Be wary of those packages you find online and sold by inexperienced photographers. Creating a series of presets is very easy, but will they work? In my opinion is better to practice and learn to do these types of adjustments by yourself.
How to use contrast to make your photos more punchy
I love adding contrast to my images. I find that the final result gives more strength, especially when it comes to street photography and landscape photography.
Contrast is a powerful weapon and because of that, you need to be careful if you decide to modify the contrast. Every time you add contrast, for example, two crucial things happen: blacks become more intense and colors more saturated.
These two changes don’t necessarily have to coexist. Maybe you want to get more depth without interfering with the rest of the colors. Know that it will not be enough for you to go and change only the saturation level.
When to change the contrast? I usually edit it right after I adjust the exposure and do it at the beginning of the photo retouching process. It may happen that during editing I go back and fix it again, but most of the time I let the contrast dictate the mood of my image.
It all depends on the theme you choose, the atmosphere you want to enhance, but most importantly how adding or decreasing contrast will benefit the subject being portrayed. It’s fine to stick to a theme, but if it doesn’t suit your image, there’s no point in trying too hard.
The tools to use with the contrast tool
There are very few cases in which by changing the contrast you will not have to change anything else. 9/10 times you will also have to deal with:
- Shadows
- Highlights
- Sharpness and structure
All these tools go hand in hand, so I advise you not to snub them. Let’s see them briefly.
Shadows control the darkest areas of the image. Changing the indicator will brighten or fade the blacks.
Highlights control the brighter areas. Here applies the same concept as the shadows, but obviously, the lighter parts will change.
Sharpness and structure can get confused. The first focuses on the details and, if used excessively can give an ultra-retouched and decidedly fake effect. Meanwhile, the structure affects the whole image and accentuates the texture of the objects. You can see it kind of as a contour highlighter.
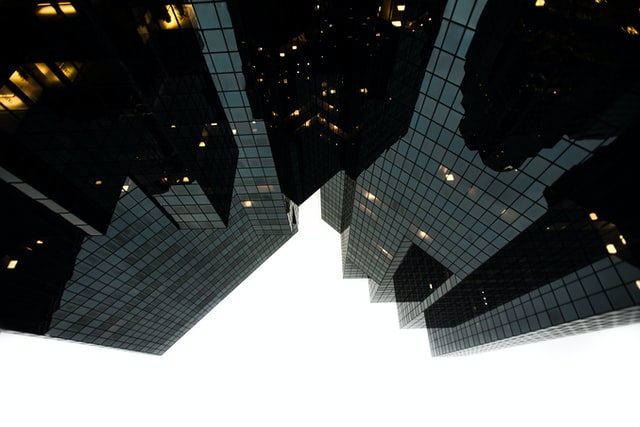
Do not forget about saturation which, as I mentioned before, is increased together with the increase in contrast. This is why it is important to find the right balance.
Unless your goal is to get a “fake” effect, I advise against using too high levels in each of these tools.
How to create a dreamy effect through contrast
Of course, the opposite effect can also be achieved. If you are curious about how to create a soft image with a matte effect. Keep reading to discover how to use contrast to get a dreamy look!
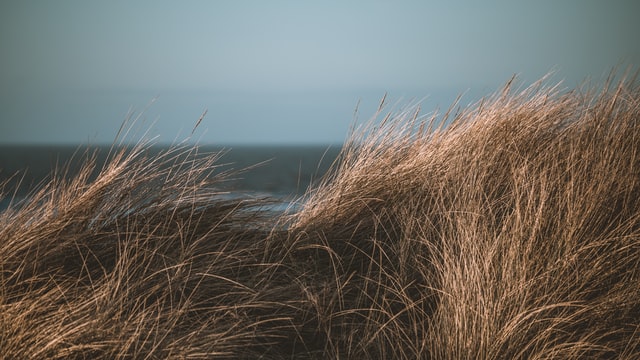
Given that this genre is not particularly my style, I will try to explain it to you as best as I can. So far we have used contrast to achieve depth, make blacks more vivid, and thus avoid a 2D effect.
Now we will do the opposite, but we will still try to avoid the 2D effect (cause nobody wants that).
By now you should have understood how it works. To obtain the dreamy look we will decrease the contrast to create a sort of veil that will soften our image. As always, balance is the key so, try not to overdo it.
Please note, that this technique does not only affect light-toned photos but also applies to more moody and darker photos. The points in common will be an opaque matte effect, soft edges, and little contrast between the various elements.
In my opinion, in this case, even more than in the first, it is essential to have the right image. Not everything will work with this technique. And most importantly, you’ll have to make a lot more changes to the rest of the settings to ensure that the final result remains natural.
I leave you some inspirational photos as an example.
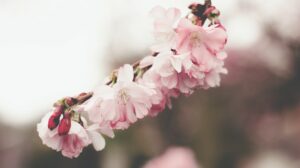

I hope as always to have given you some ideas to start from and to have clarified all your doubts. If you would like to have a more detailed and in-depth guide just let me know in a comment or write me!
Are you interested in how to create impactful compositions directly in the field? Read my tips in the dedicated article. Just click on the image down below!
