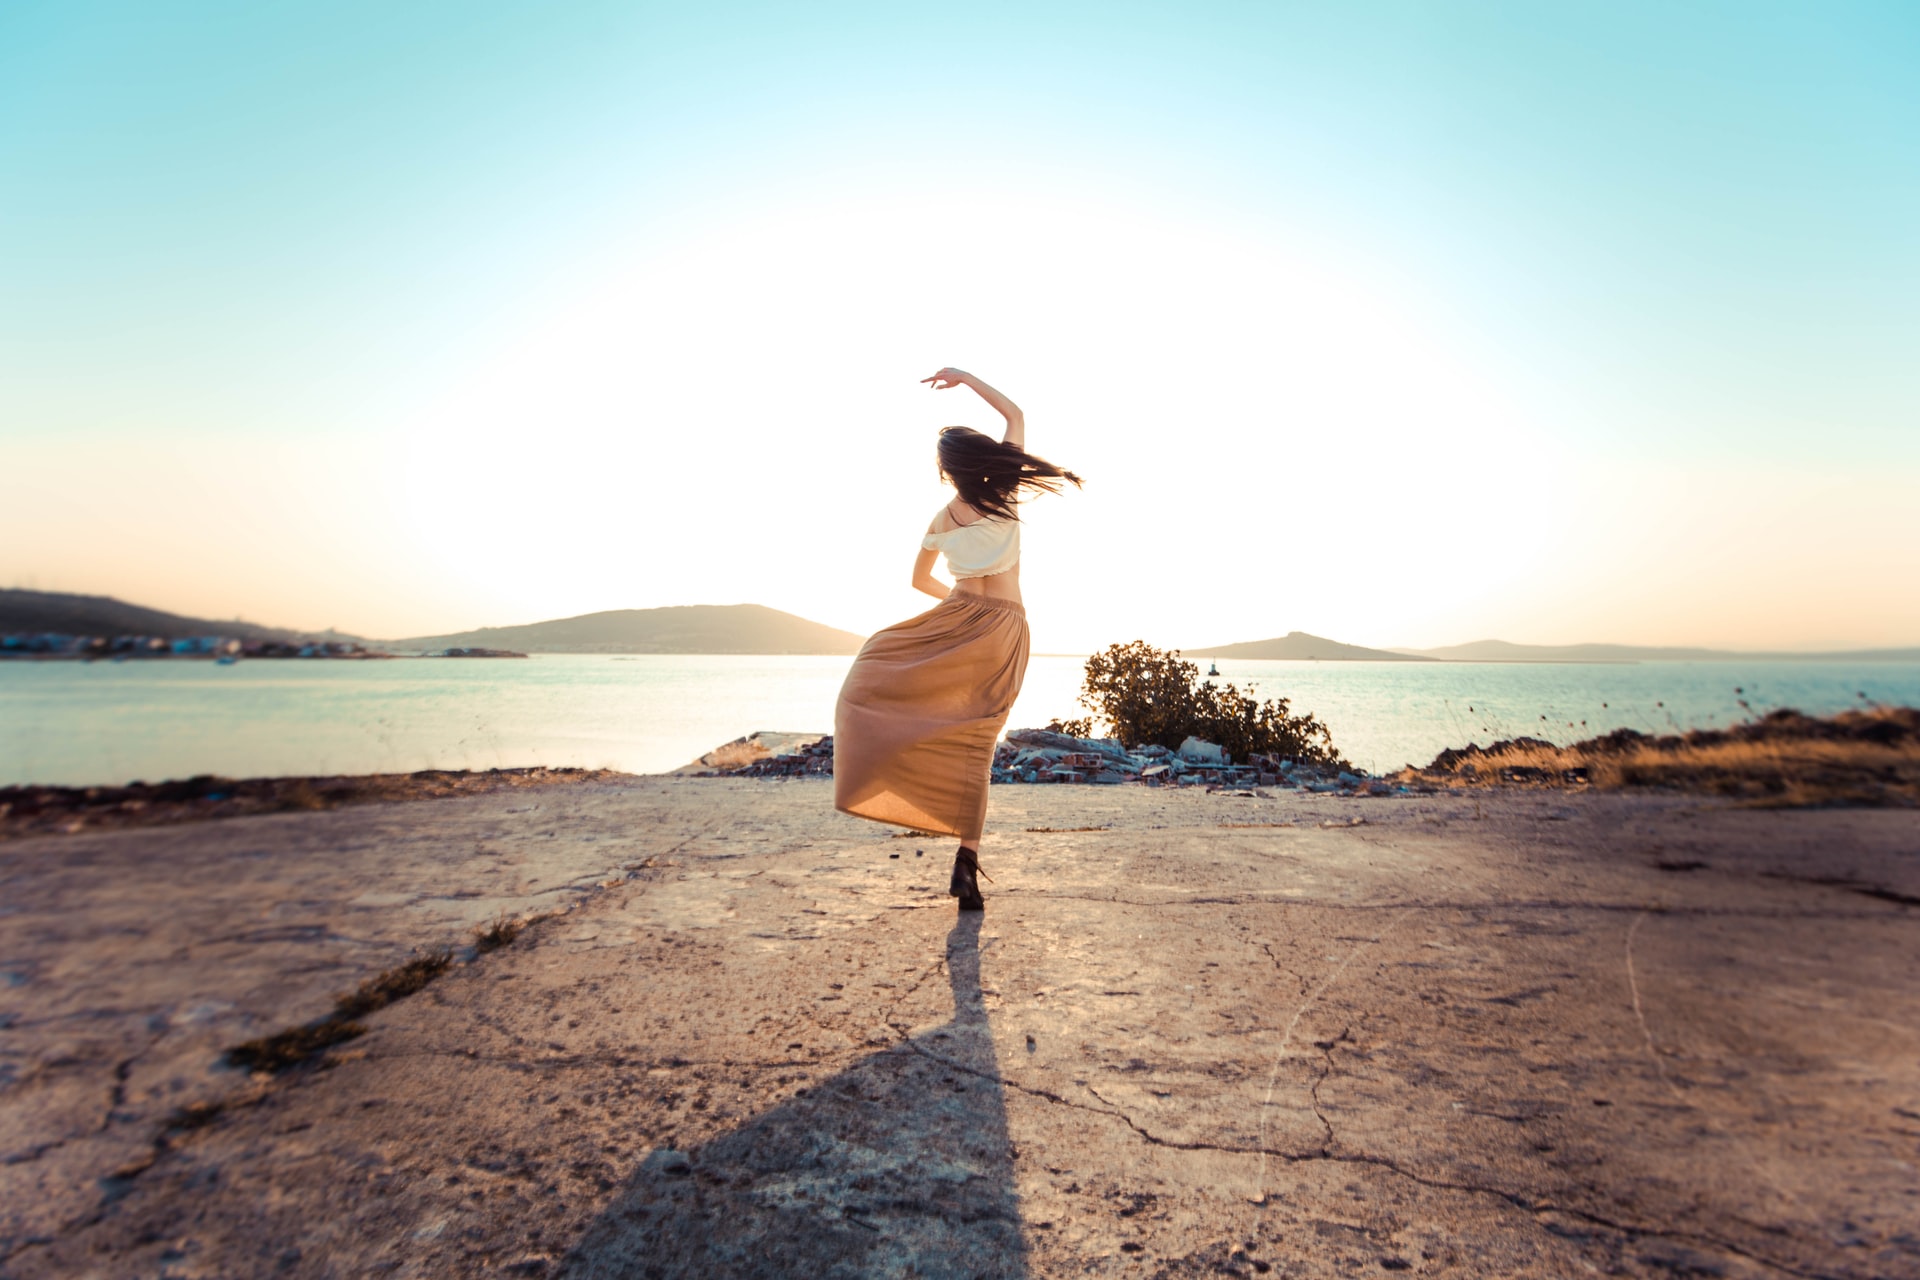
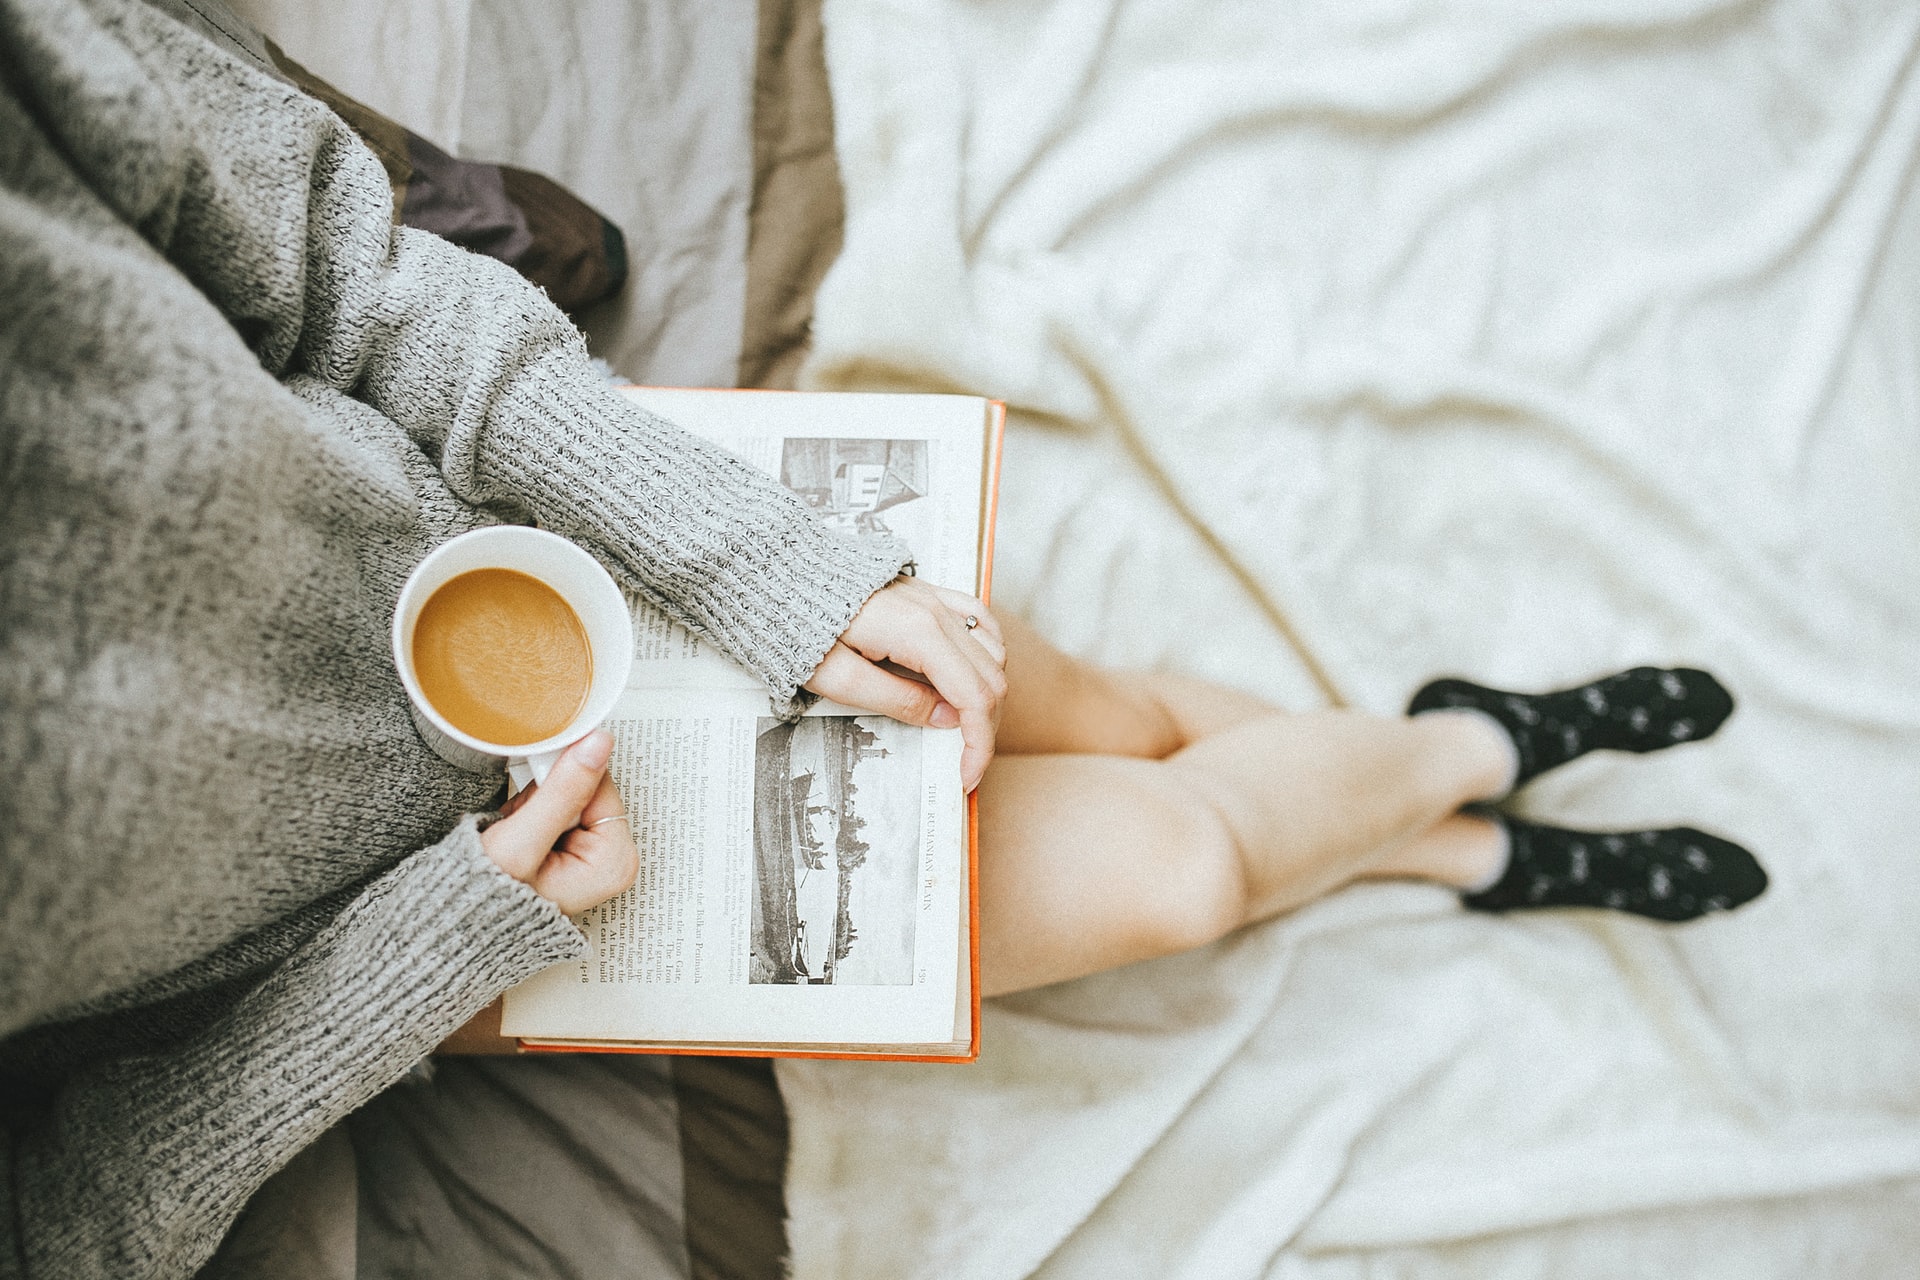
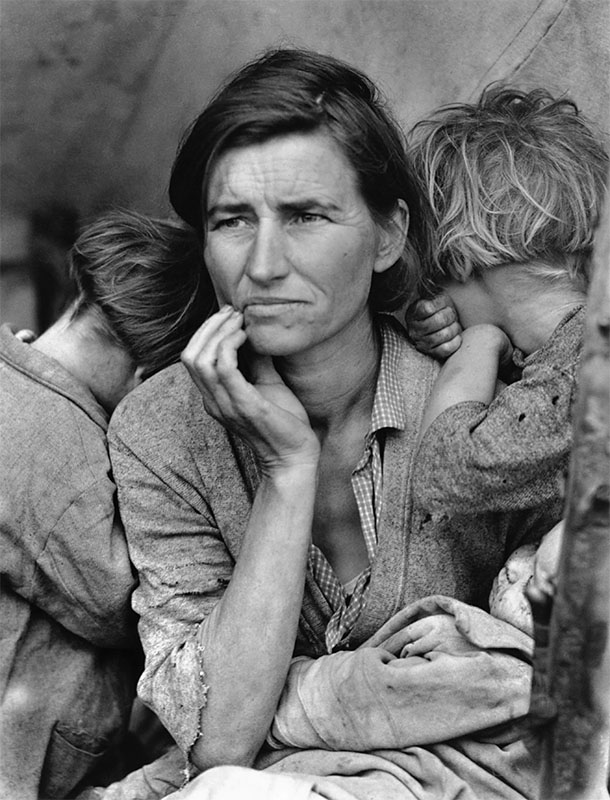
How many times have you been fascinated by a portrait? I’ve had many more than I can remember. There has always been something that drew me to portrait photography. Photographers like Annie Leibovitz, Dorothea Lange, and Vivian Maier are among my favorites. The way they manage to capture human emotion is something magical, in my opinion.
Annie Leibovitz is known around the world for her portrait photography, while Dorothea Lange and Vivian Maier have had more of a street photographer approach to their portraits. Vivian Maier’s self-portraits and Dorothea Lange’s close-ups are particularly famous.
It is difficult to explain what attracts me to people’s faces. I think the feature that attracts me most is the eyes. Behind them lies an ocean of thoughts, and it fascinates me to be able to see some of them through a portrait.
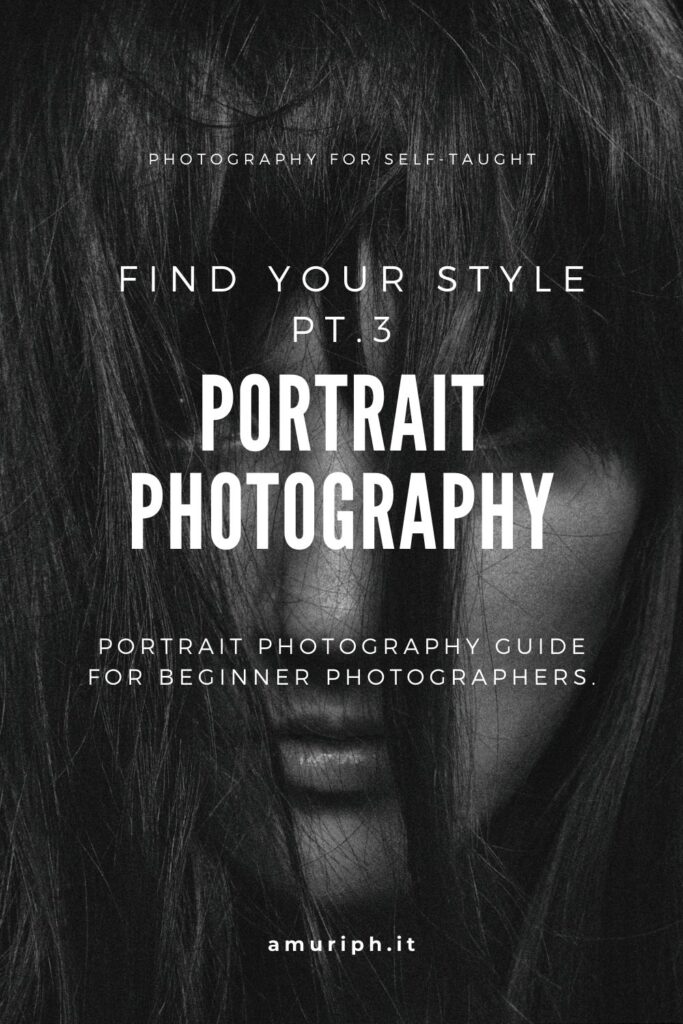
If you have already looked at my portfolio, you will have noticed that there aren’t a lot of portrait photos. This is because, despite being one of my favorite genres, the shyness in approaching people has always hindered me. A good portrait photographer must know how to guide his subject and therefore, must know both his equipment and how to approach it very well.
I’m working on this and I would love to shoot more portraits in the future. So, here we are, welcome to your very first introductory guide to portrait photography. Let’s begin this chapter together, shall we?
How to take portrait photos
Since I’m a self-taught photographer, and not having much familiarity with portrait photography yet, this guide will be slightly different from the others that I’ve made. I will share with you everything I know at the moment and, as I learn new photography techniques and new tricks, I will make sure to always update you.
The first fundamental thing to know is that you don’t need to have a photo studio and super expensive equipment to take beautiful portrait photos. Don’t be intimidated by all those YouTube tutorials that show you weird tools and tell you over and over how important it is to invest in good lights and reflectors.
Let’s not worry about these things for the time being. In the future, if you decide that portraits are your thing, we will discuss investing in some equipment.
But to get started, you can easily try taking portrait photos at home. All you need is a natural light source (window) and your trusty camera or smartphone.
The below excuses are no longer allowed:

I have no one to photograph
This is the most common excuse that I find myself using. Yes, I’m guilty. If you think about it, it’s not true that you don’t have a subject, cause you are the perfect subject. Take advantage of that.
I’m shy and I’m ashamed
Well yes, I’ve used this excuse too. I know, I know, we shy people have this natural block that makes us hate being in front of a goal. But there’s no reason to be shy if you are both the photographer and the model, right?
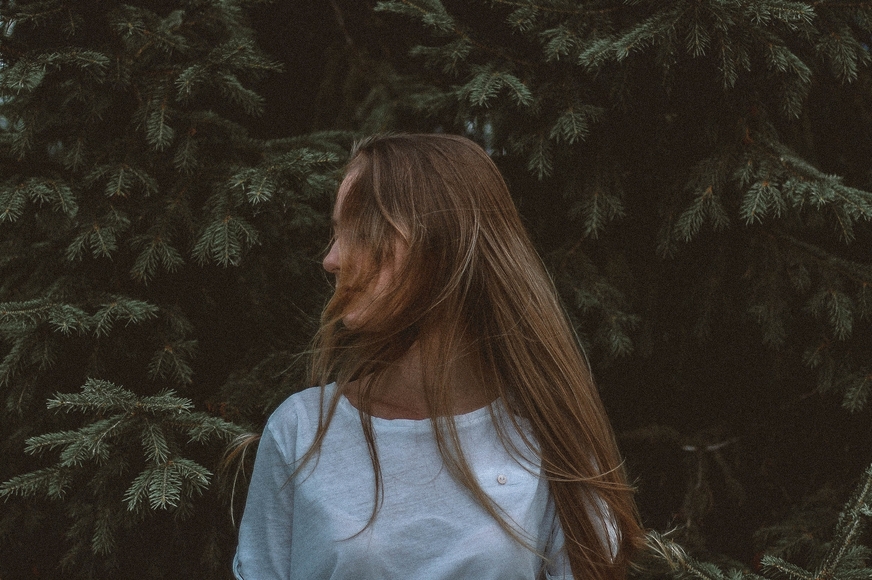
The beauty of portrait photography, and above all portrait photos, is that no one has to see them. Use this opportunity to learn which poses work and which don’t. Learn how the light affects the face and body and have fun experimenting.
Where do I start with a portrait photo?
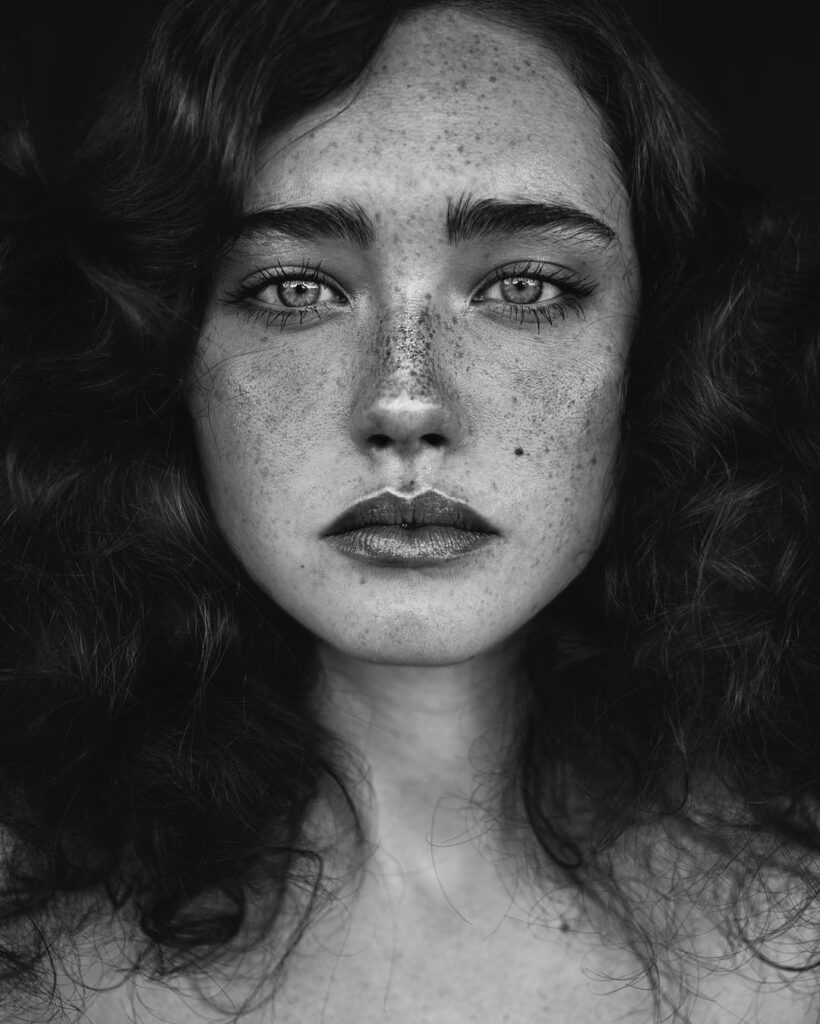
Here are a few things to keep in mind when doing portrait photography:
- The light
- The pose
- The emotions
- The story
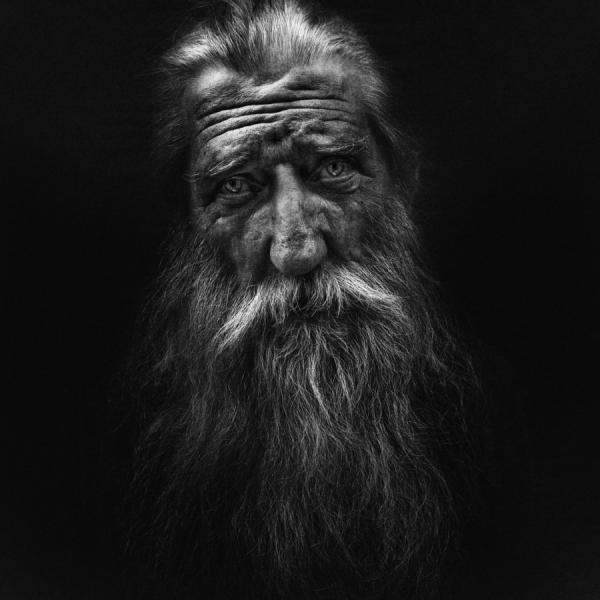
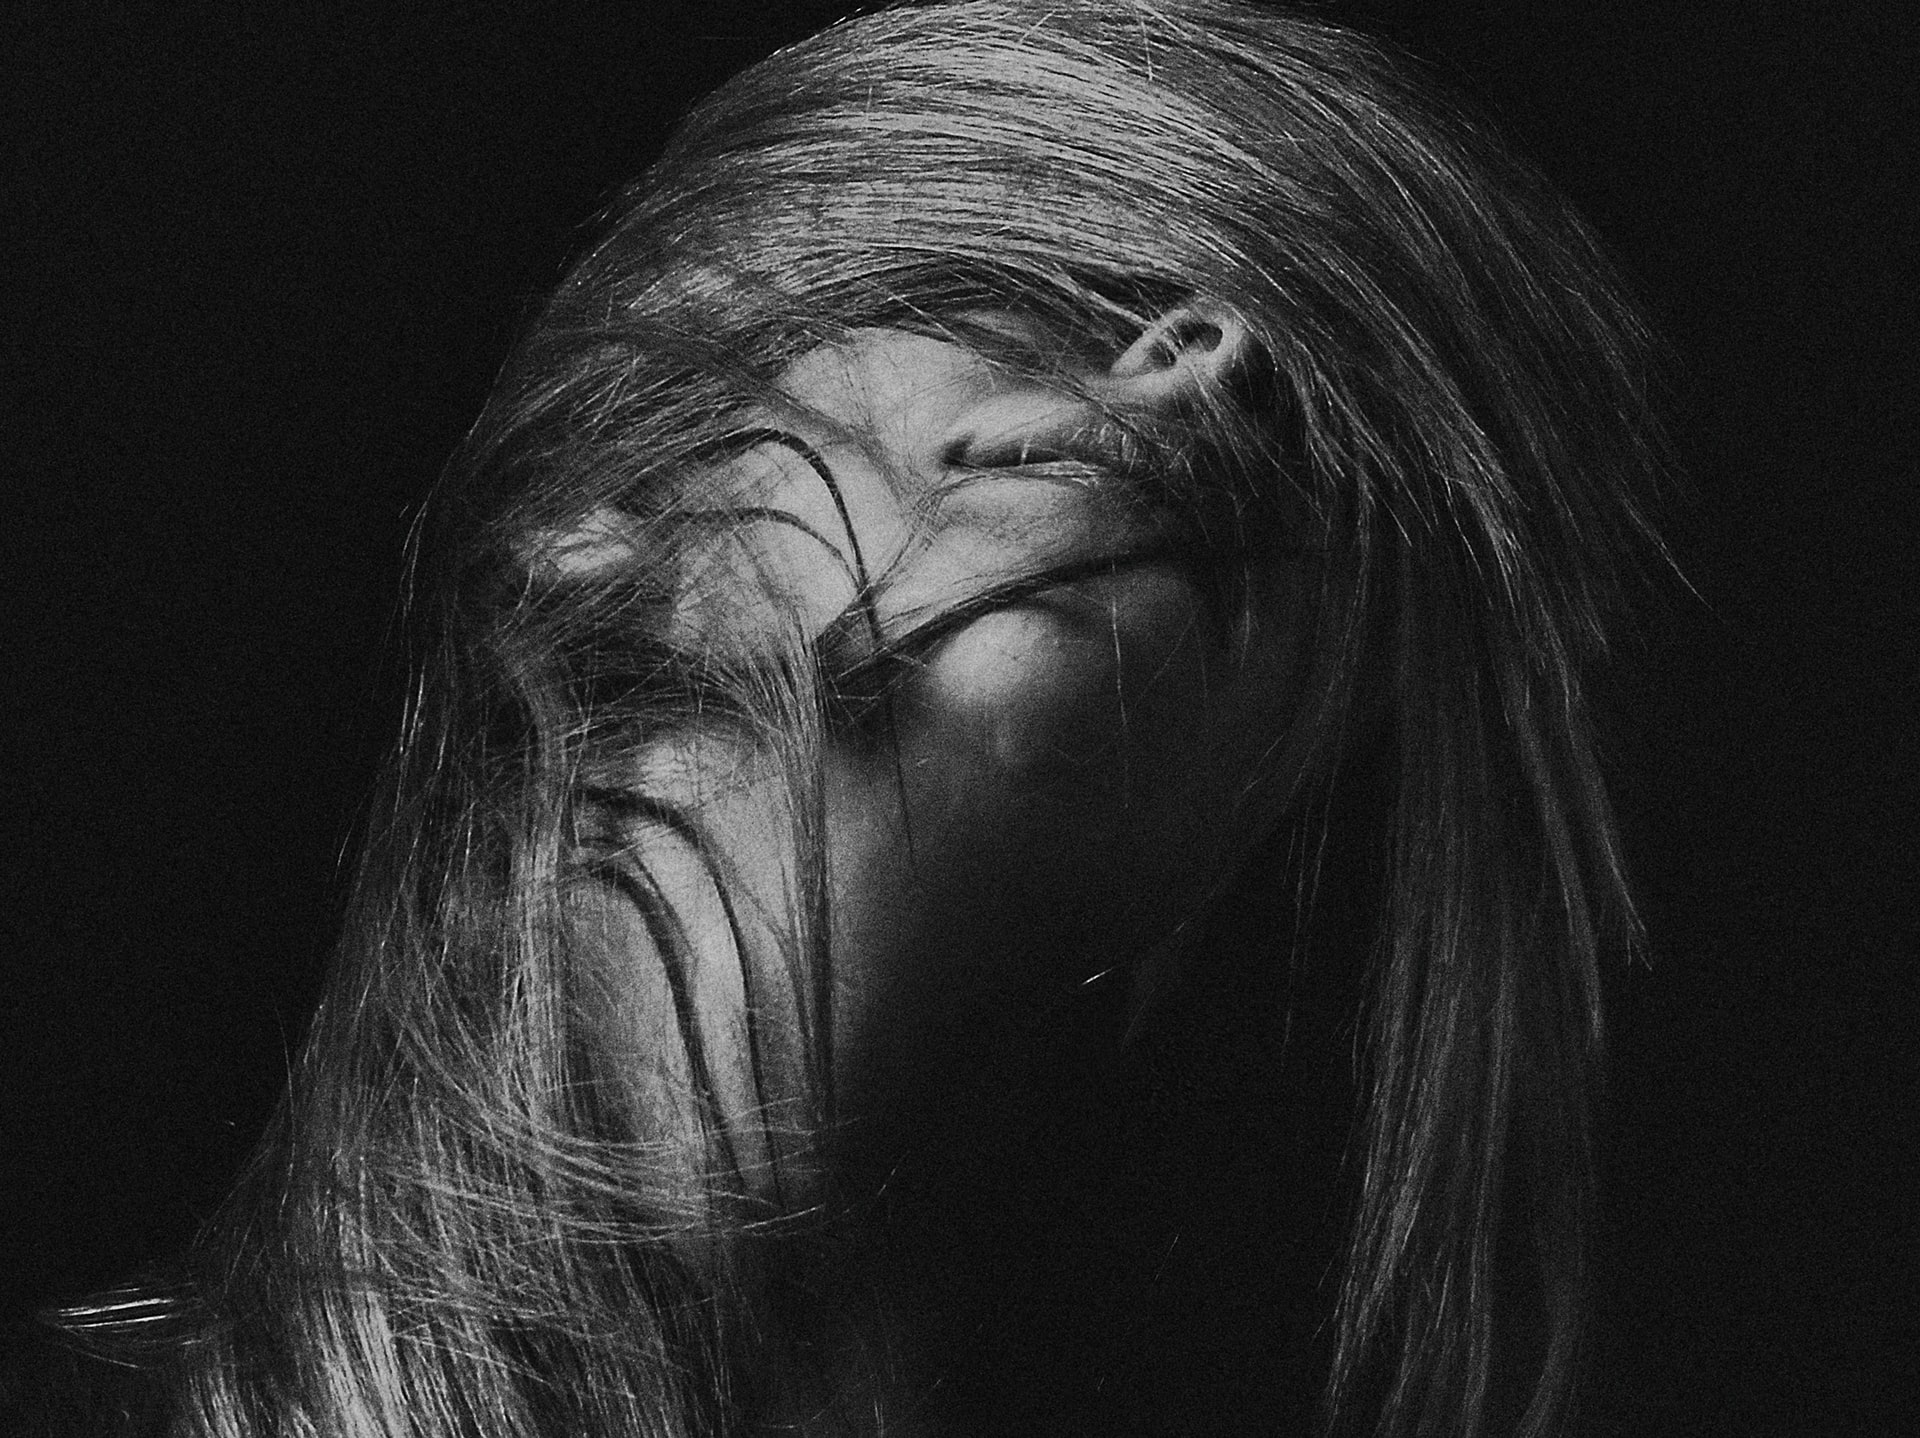
Photo by Lee-Jeffries
The Light
it is the key element of any photographic genre and portrait photography is no exception. Knowing how to illuminate your subject is key and also is the most technical and difficult aspect to master. You will commit a lot of errors at the beginning but don’t worry too much about it. It’s perfectly normal.
Here’s my advice: try to observe the direction of the light source. From below you will get the classic ghost effect, from above you will have rather strong shadows. And again from the sides, you will have the unexposed side completely dark, while from the front you risk hardening the features of the subject.
That’s why you’ve probably seen photographers use multiple lights at a time. This allows you to evenly illuminate the subject.
For those like us who are starting with portrait photography, and whose only source of light is the natural one, the trick is to try different angles of the body and face. In this way, you can take advantage of natural lighting.
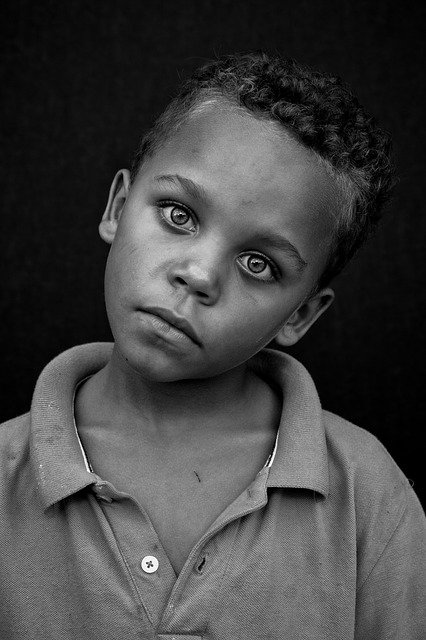
The Pose
Closely related to the talk about light, knowing which pose is best for each situation is very important. Again, it will be something you will learn with experience.
For close-ups, you only have to pay attention to the position of the face and how to illuminate it to obtain the desired results. For the half-bust, photos don’t forget to pay attention to the position of the hands and the upper body.
To help you with that, try to use what I will call the zig-zag composition rule. The most interesting photos are those that make your eyes move and reveal new details with every glance. That’s why angles work in photography.
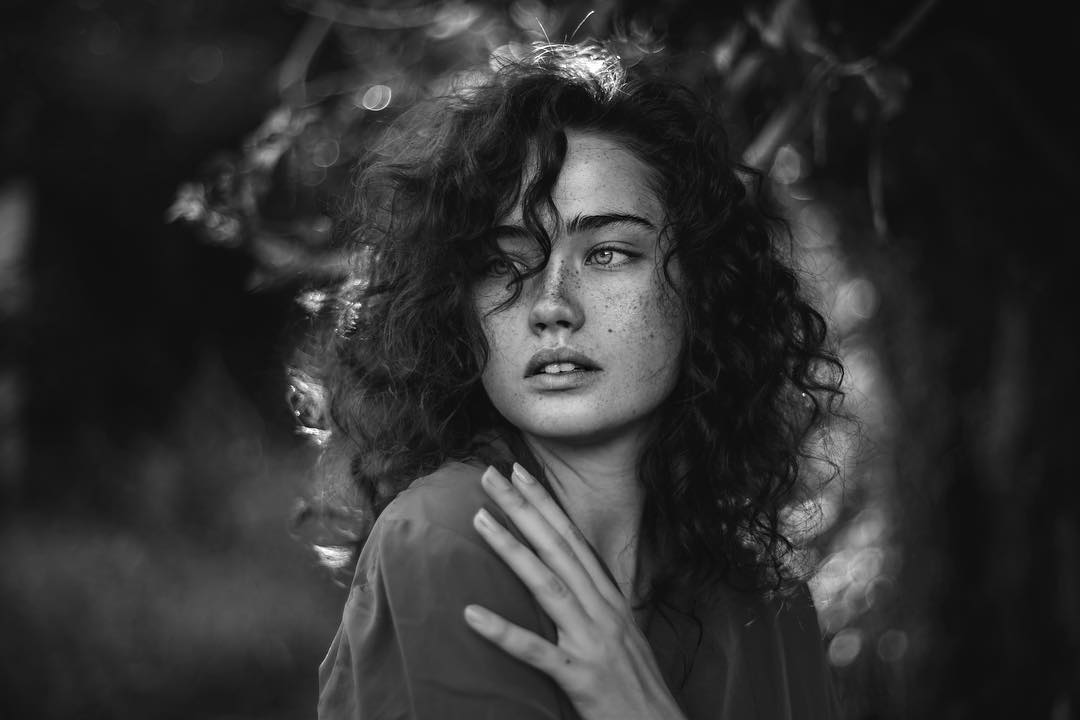
Photo by Agata Serge
The Emotions
A portrait photo must communicate something. It must convey emotions and not those of the photographer, but those of the subject. The photographer’s job is to guide the subject without making it uncomfortable or over-setting it.
Often the best portrait photos are not those studied and posed in the smallest details but are those that have left room for improvisation. It is in these circumstances that the subject is truly himself and the portrait photographer’s job is to capture those moments.
The central focal point of each portrait photo is the eyes, which are not by chance often called the mirror of the soul. You can have the most eye-catching pose in the world and light up the scene as a master, but if your subject’s eyes are empty and dull, the portrait photo will highlight it even more and the result won’t be very effective.
The Story
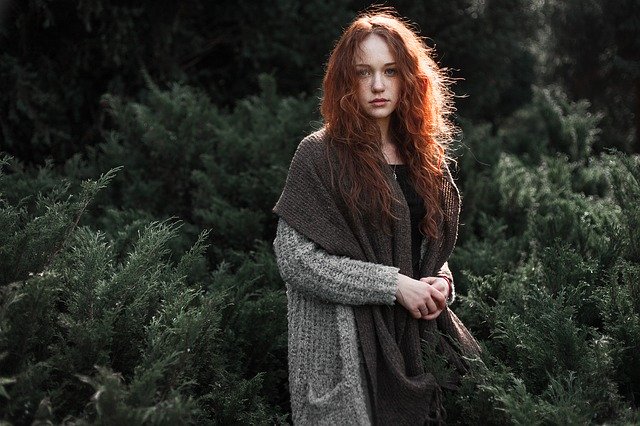
For fashion shoots or editorial photoshoots in general, it’s common for the model to tell a story. So the emotions that transpire from the subject are not the real emotions, but rather those of the character he was asked to interpret.
When you have conceived a story, it is important that not only the scene but also the subject is part of it and therefore identifies with it.
As a photographer, you will have the task of making much more dramatic and artistic portrait photos. But that doesn’t mean forgetting about all the other rules of portraits.
Even if you’re trying an artistic approach, try to be true to the story you want to tell.
If you find this guide useful for finding your photography style, read the other guides dedicated to different photographic genres!
The best lenses for portrait photography
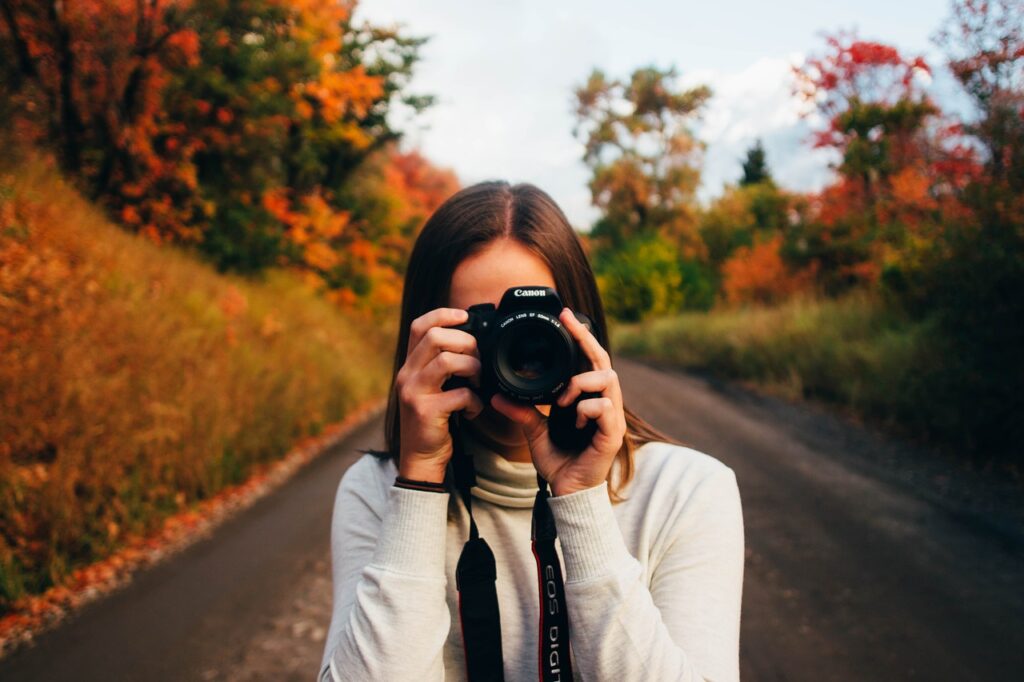
As for the choice of lenses for portrait photos, I recommend that you avoid wide-angle lenses and telephoto lenses. Even if there isn’t a real reason that prevents you from using one of those lenses, usually for portrait photos there are more suitable lenses. The most popular are:
- 50mm f/1.8 o f/1.4 o f/1.2
- 35mm f/1.8 o f/1.4
- 85mm f/1.8 o f/1.4
As you can see, in all three cases we are dealing with fixed lenses, not zoom lenses. This is because it is better to interact with the subject and physically approach or move away rather than using zoom. This way you are also more likely to look for different angles and this guarantees a greater variety of shots. With the zoom, on the other hand, we tend to remain fixed on one point and to zoom in and out while always maintaining the usual shot.
Fixed lenses are very expensive, so I’d avoid buying one unless you’re already sure you want to specialize in portrait photography. The zoom lens you probably have in your hands now is more than enough to begin with.
Just remember to change angles often and use the focal lengths above (50mm-35mm-85mm) for best results.
I leave you with a video of Sorelle Amore, a Photographer / YouTuber from whom I learned a lot.
You are ready to start your portrait photography adventure. If you found this article useful, share it so that other self-taught photographers can learn photography with us!
