Today you will learn how to make moody aesthetic photos for Instagram. Not a fan of Social Media? All of these tips and tricks will still work! So, if you want to know how to make moody editing that allows you to get that popular look among photographers on Instagram.
Also, if you’re curious but don’t know what I’m talking about, read on! I’ll answer all of your questions!
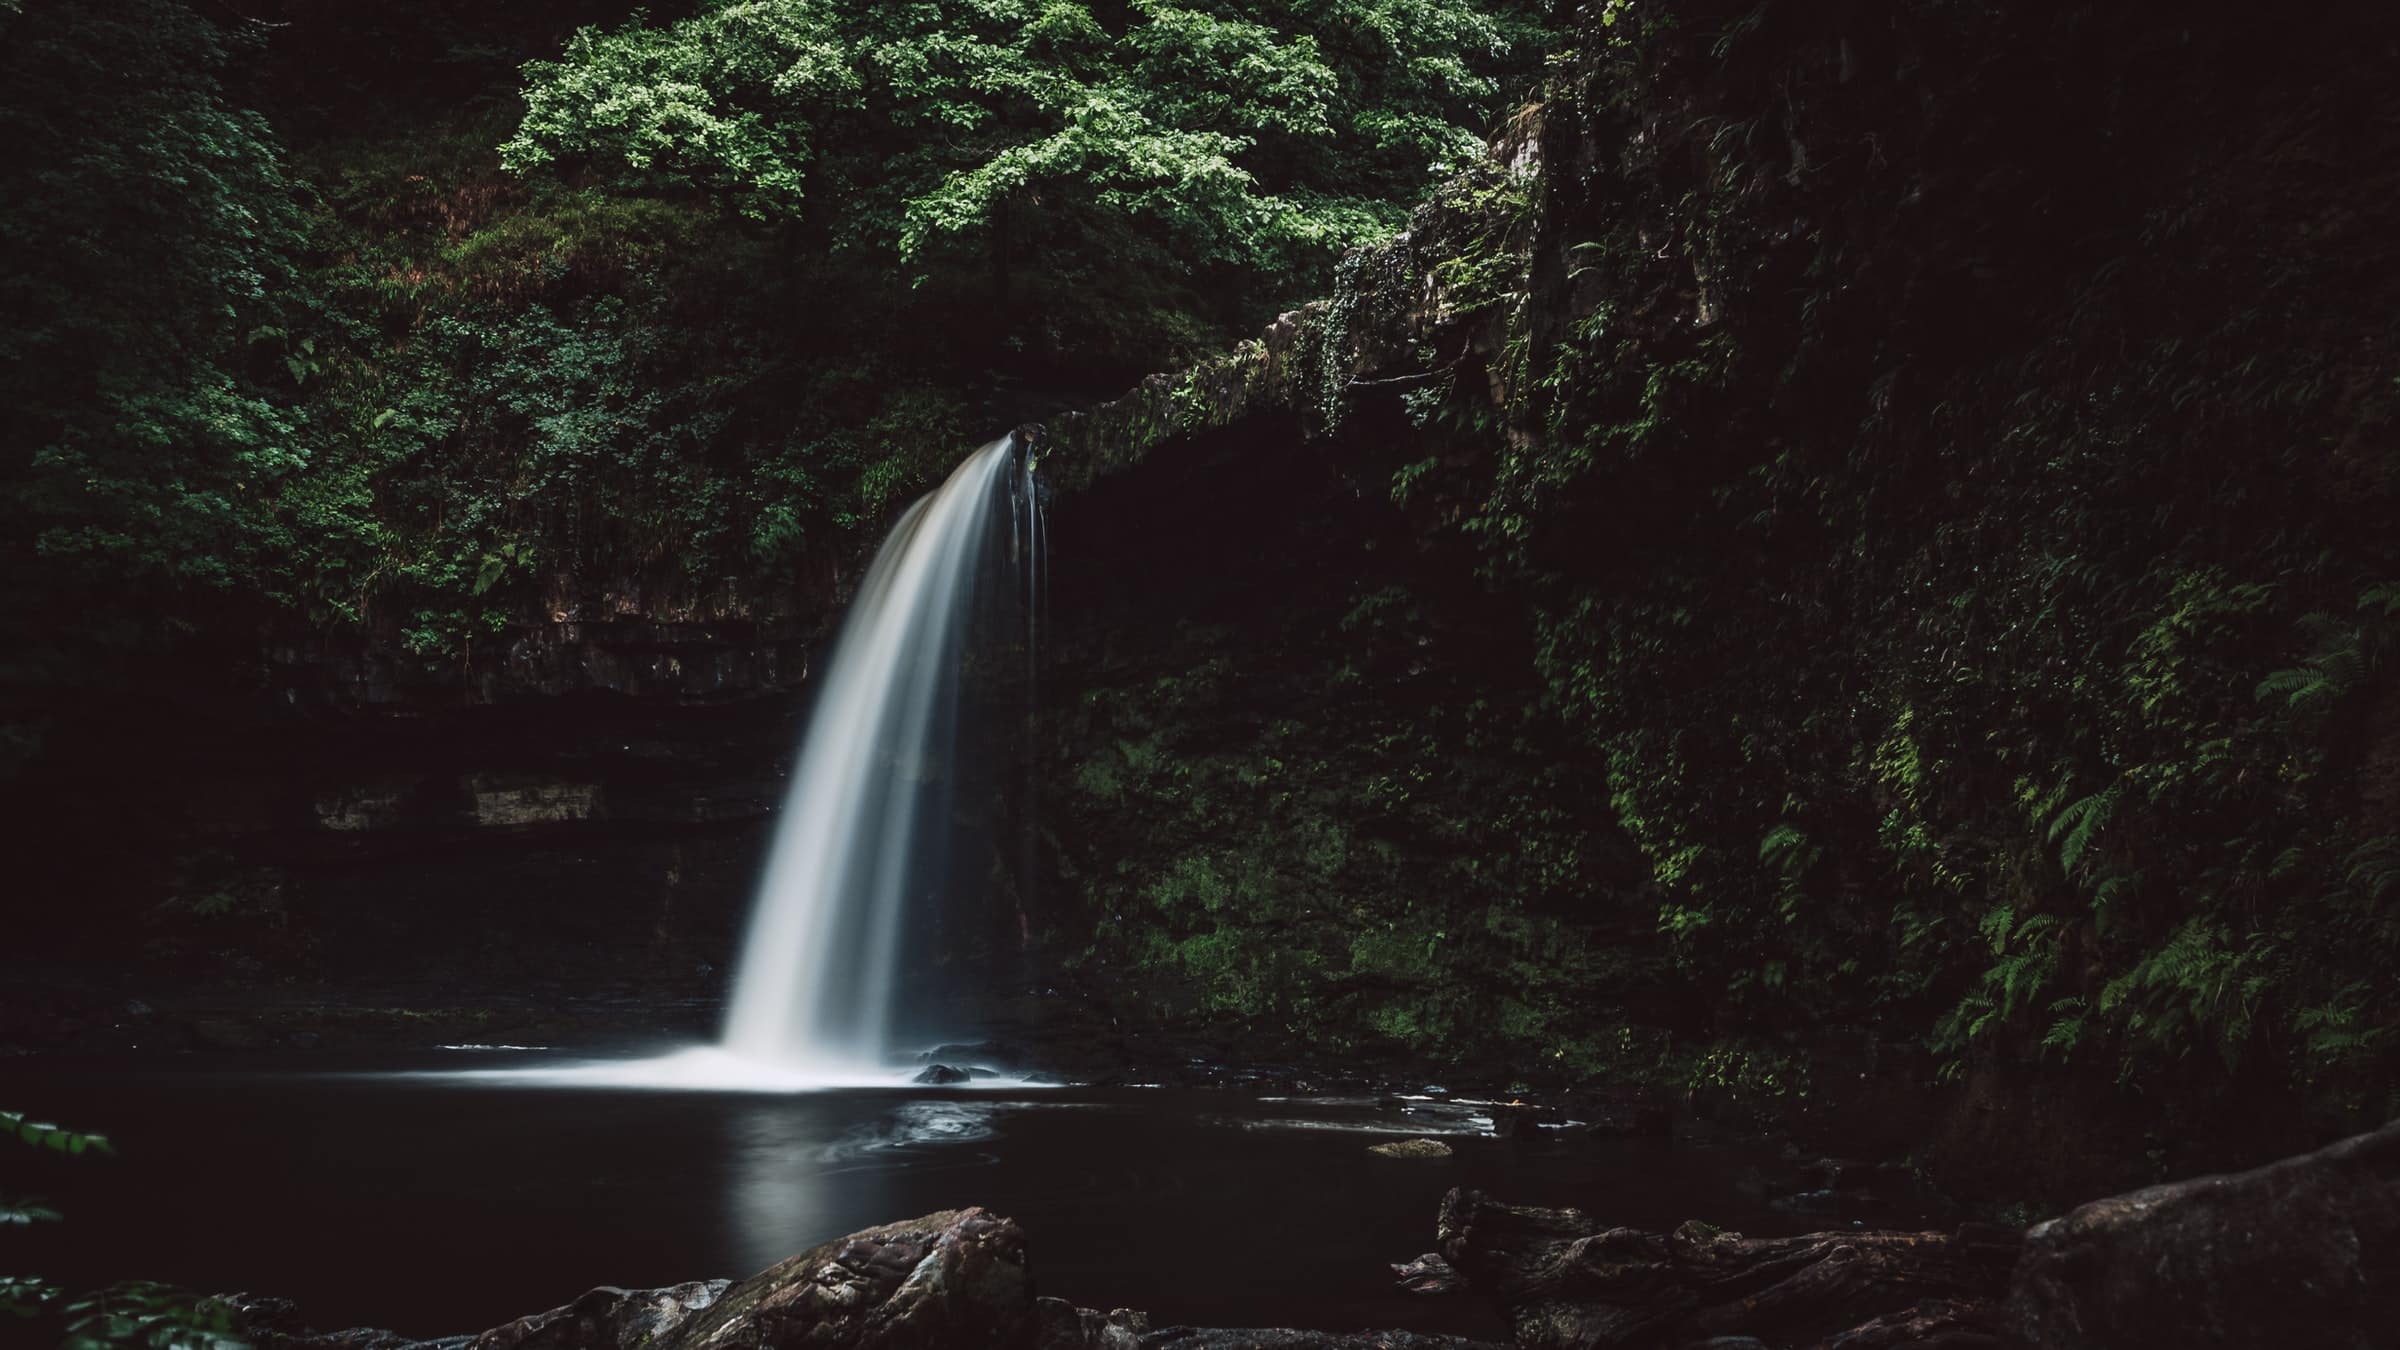
The term “moody” means moody or even bad mood. When we refer to a photo as moody, is because that picture represents a somewhat dark or mysterious atmosphere. In fact, more than the literal meaning, the term moody in photography generally indicates all those images that have a dark atmosphere in common and that communicate something mysterious or almost sad.
Described in this way may not seem like much. But when the photo editing is done well, the final result can impress even the most skeptical.
So, let’s go a little more in detail, and let’s learn how to create moody aesthetic photos.
How to take moody photos for Instagram: the ultimate guide
Let’s start with the tools you need to create moody aesthetic photos:
- A photo in raw format
- A mobile app like Snapseed or Lightroom desktop (you can use also the mobile version)
At first, you can take a cue from the photos of others and try to recreate the atmosphere of the image. As you go along, you will also find your style and your photos will begin to come to life.
Why is better to choose a raw format for moody photos?
In general, if you have the opportunity, I suggest you ALWAYS shoot in raw. Did you know that you can also set this format on your mobile phone by selecting it in the camera settings?
The raw format allows the device to store much more data in an image, data that results in details. When you are in the photo-editing phase you can easily recover all those details. That would be much more difficult, if not impossible with the Jpeg format (standard image format).
N.B. the raw format produces larger images. It’s easy to talk about megabytes rather than kilobytes, so make sure you have adequate storage on your device, especially for mobile.
Said that, let’s now move on to illustrate the different ways and the various steps to obtain a moody atmosphere!
Getting a moody vibe: dark style guide
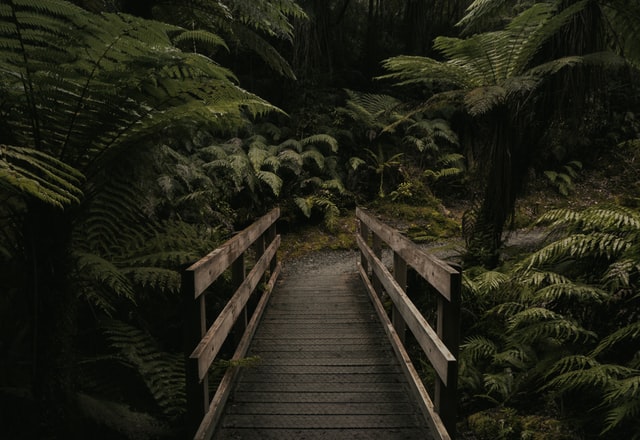
As already mentioned, a moody photograph recalls that dark atmosphere and gives the impression of communicating something mysterious. Most of the photos that belong to this style make a lot of use of dark colors and cool tones, but you can get a similar atmosphere even in light colors.
Of course, if you want to communicate darker emotions, it is better to stick to dark colors, but that does not detract from the fact that you can achieve a moody style through light colors.
Let’s see together how to achieve both results.
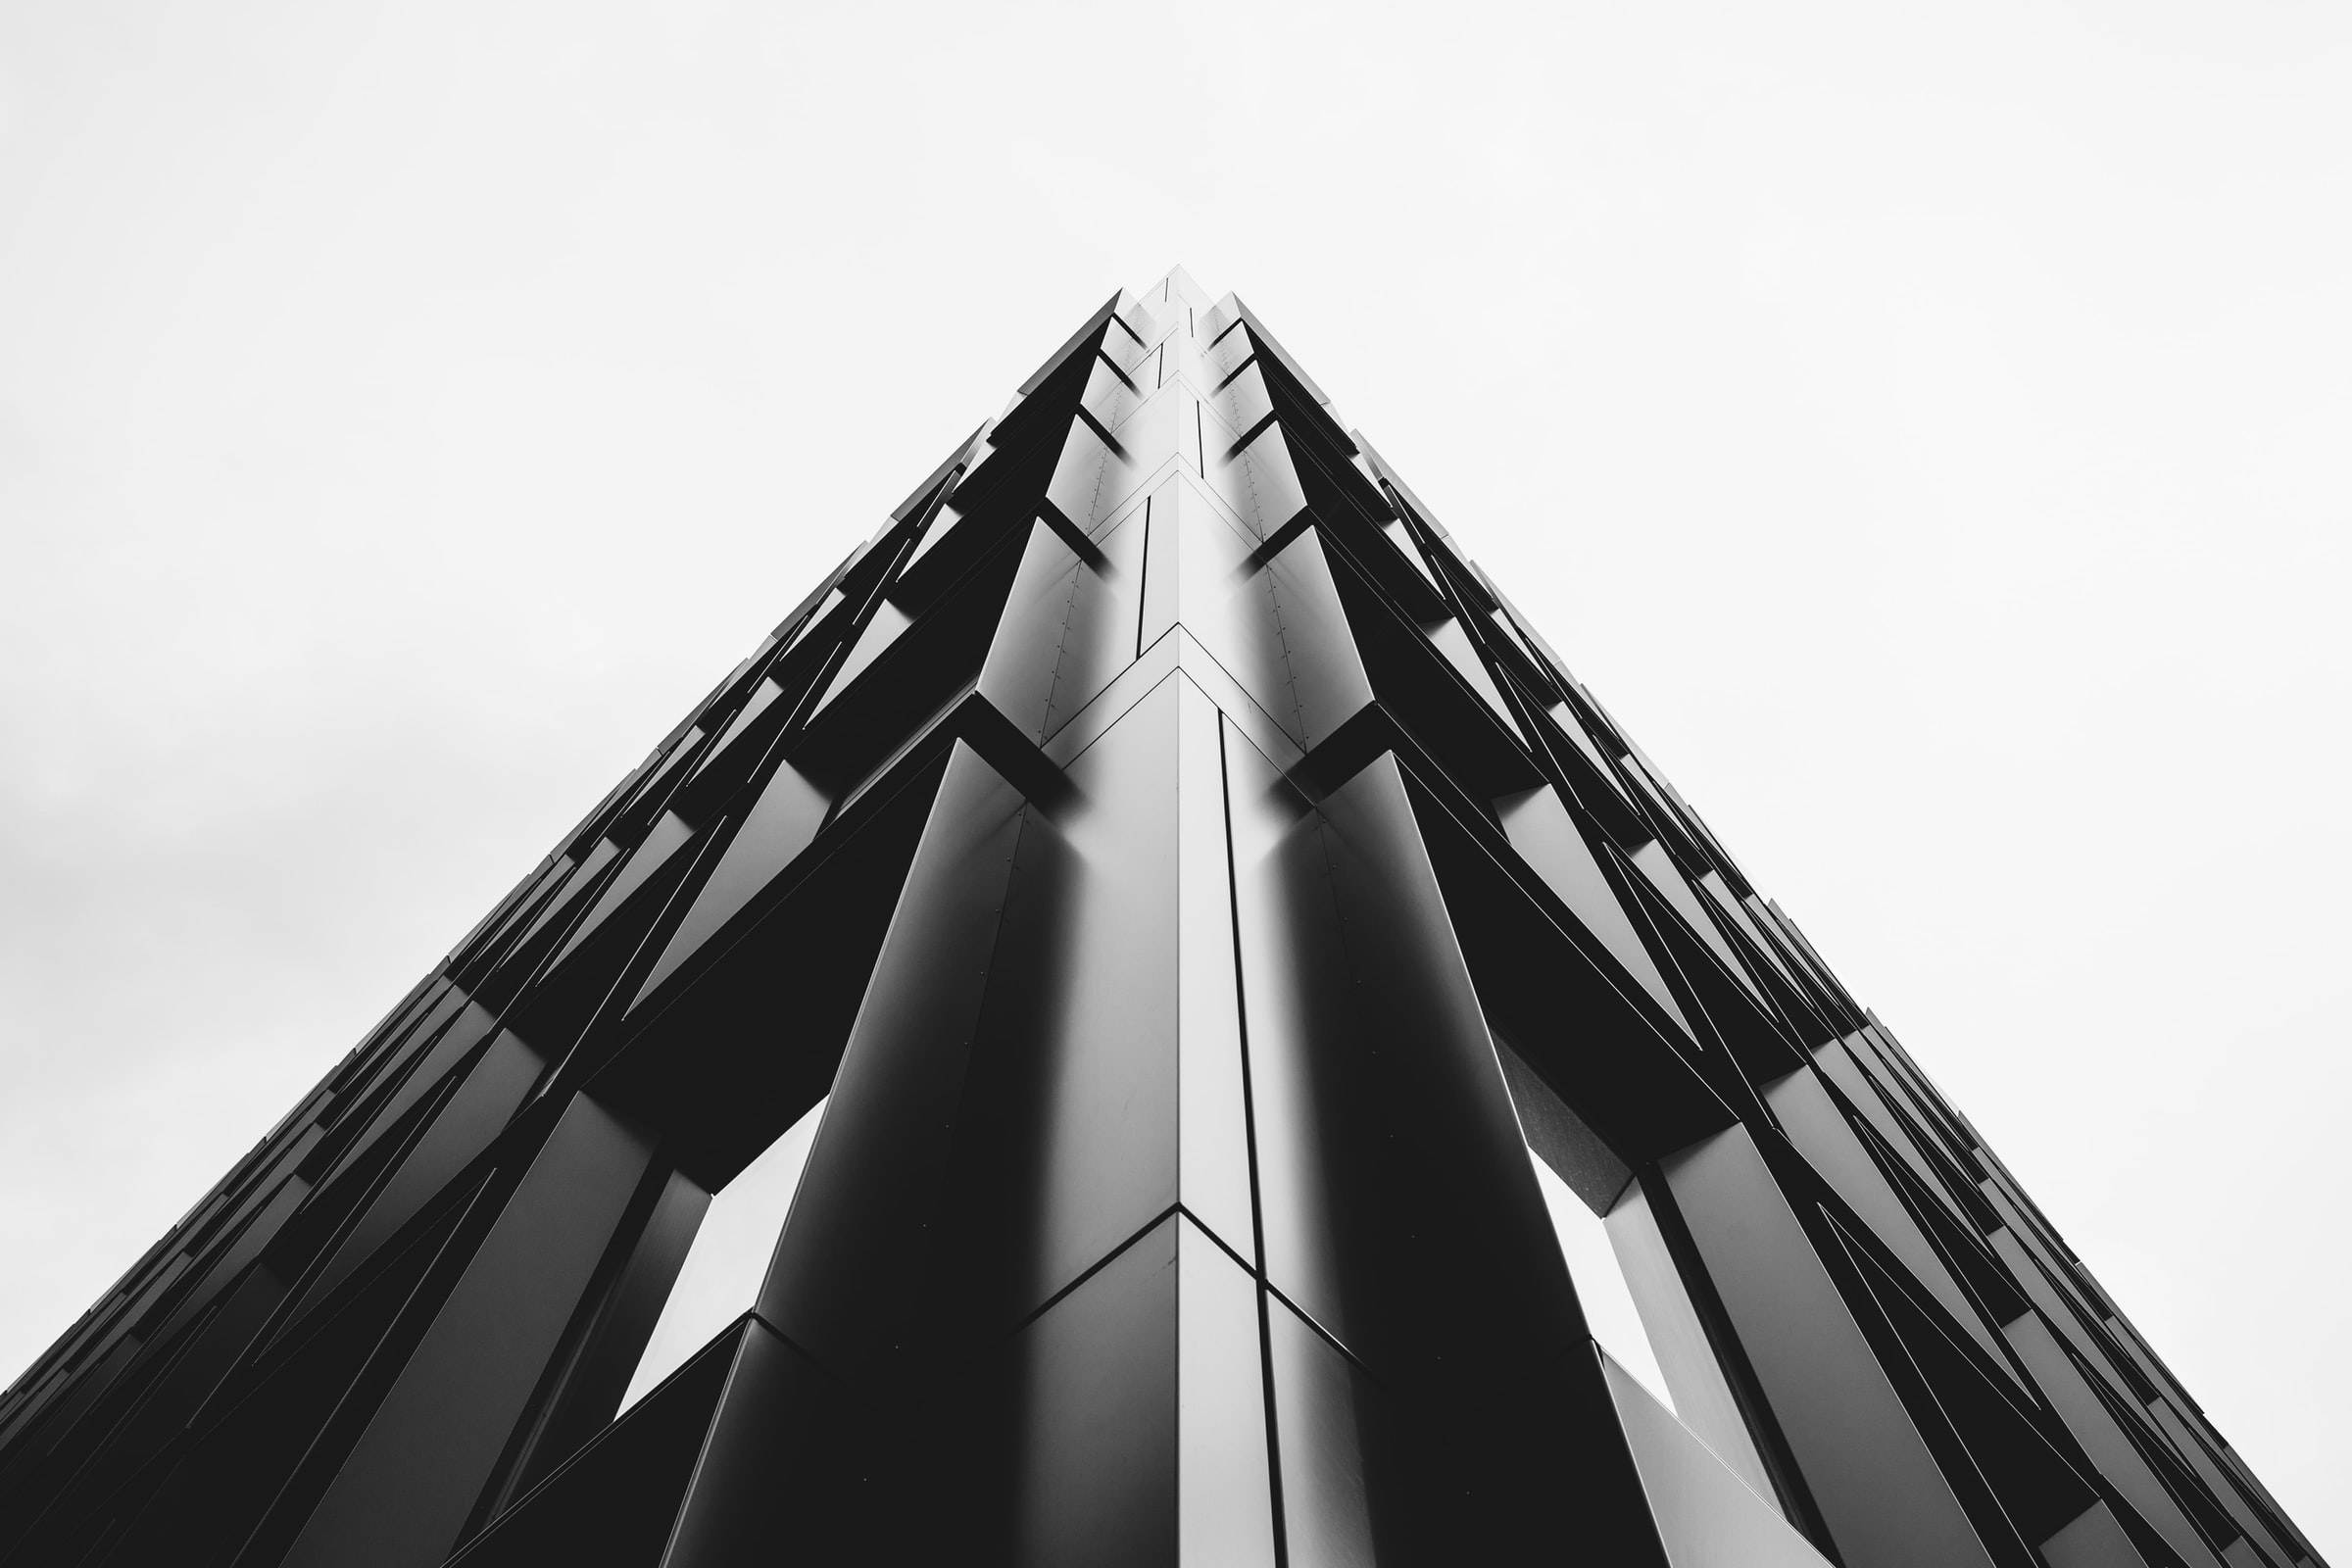
Moody photo with light colors
If dark colors aren’t your thing, but you’re looking for a way to achieve a more punchy vibe, then you can follow these tips.
Edit the base of the photo as you usually would: adjust the exposure, the contrast, and all those aesthetic elements that make it balanced.
Once this is done, it’s time to think about the style. If you don’t feel safe you can start from a pre-existing filter, otherwise start modifying the tone curve or tonal curve. This is the most popular tool for making moody aesthetic photos.
In this case, light colors will feature low saturation and opacity. These two elements, together with contrast, allow you to create a stronger effect. Below you can find some examples to help you better understand!
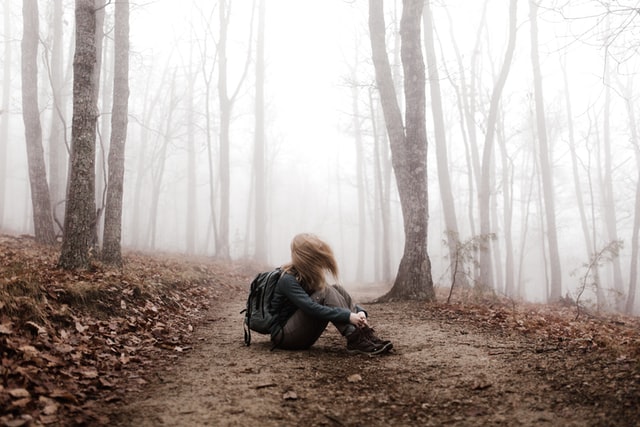

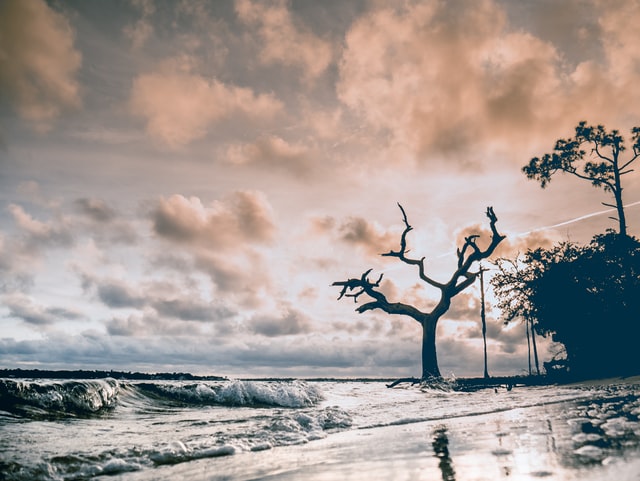
I prefer dark colors when I want to create a moody atmosphere. With a little practice, you will understand your preferences too.
Moody photo with dark colors
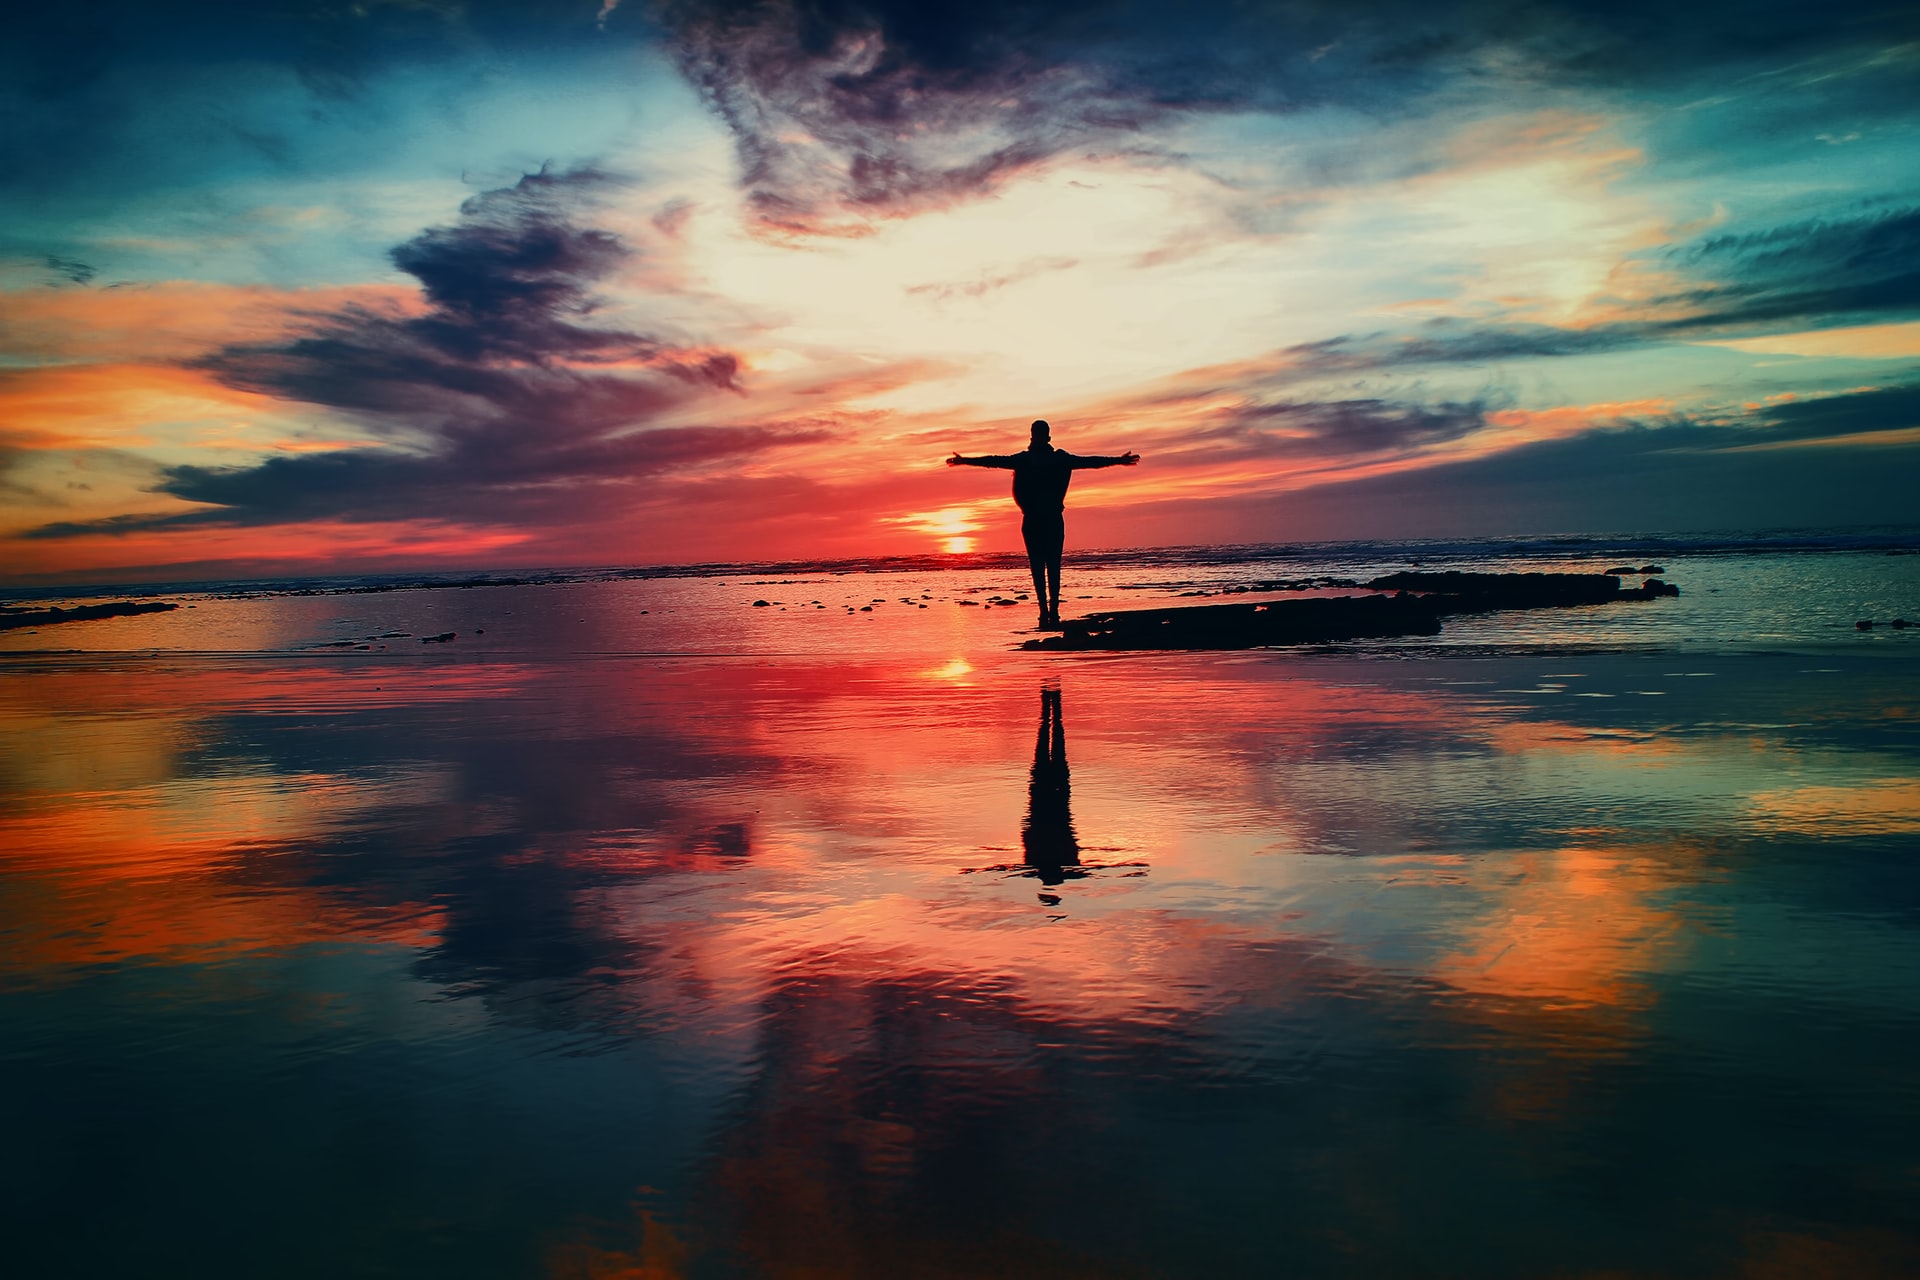
When I said that with practice you can achieve your style, I was referring to the fact that you can achieve the same moody effect by using dark tones in different ways. Some prefer green tones, some blue and purple, or those who prefer oranges.
Each of these choices will get you a different picture. What they have in common, however, are the modified elements in addition to the colors.
It is difficult to explain these peculiarities well. I am attaching an example video that explains step-by-step how to take moody photos using Lightroom.
Basically, you will have to avoid too strong highlights, as well as bright colors. Reduce the saturation and decrease the contrast to create a faded look.
If you don’t have Lightroom, you can also get the same effect with photo editing apps like Snapseed. In this case, don’t be afraid to start from a filter. Although editing apps are now at the forefront and allow you to do practically everything, when you try to get specific looks, it often happens that they reveal their limits.
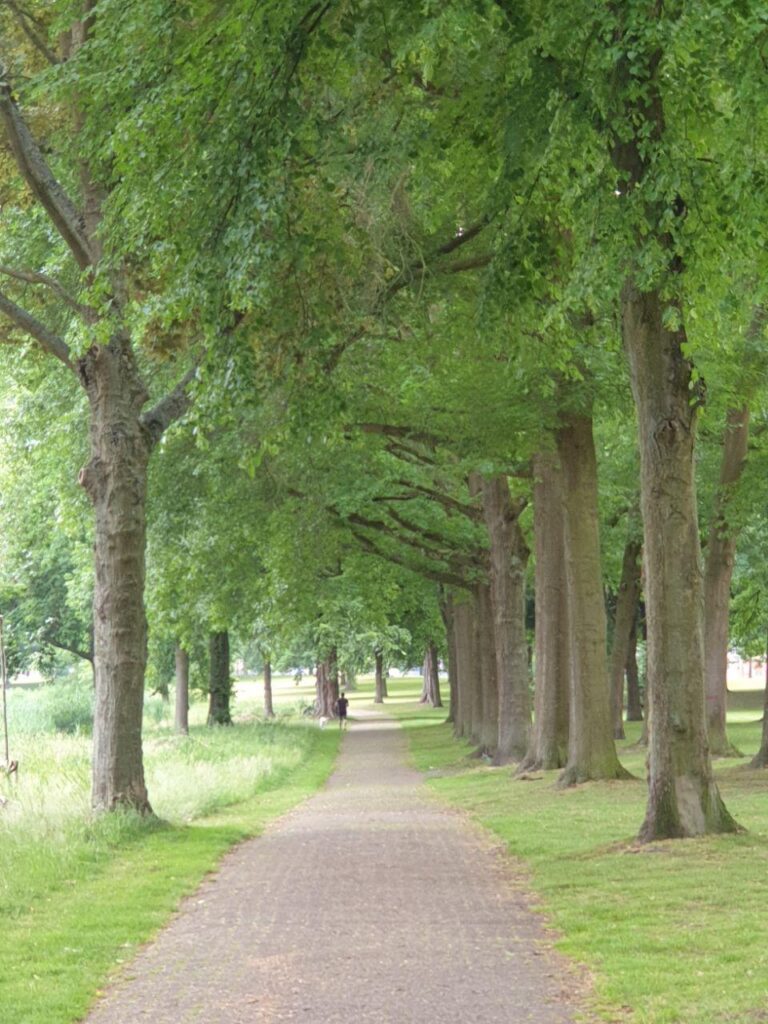
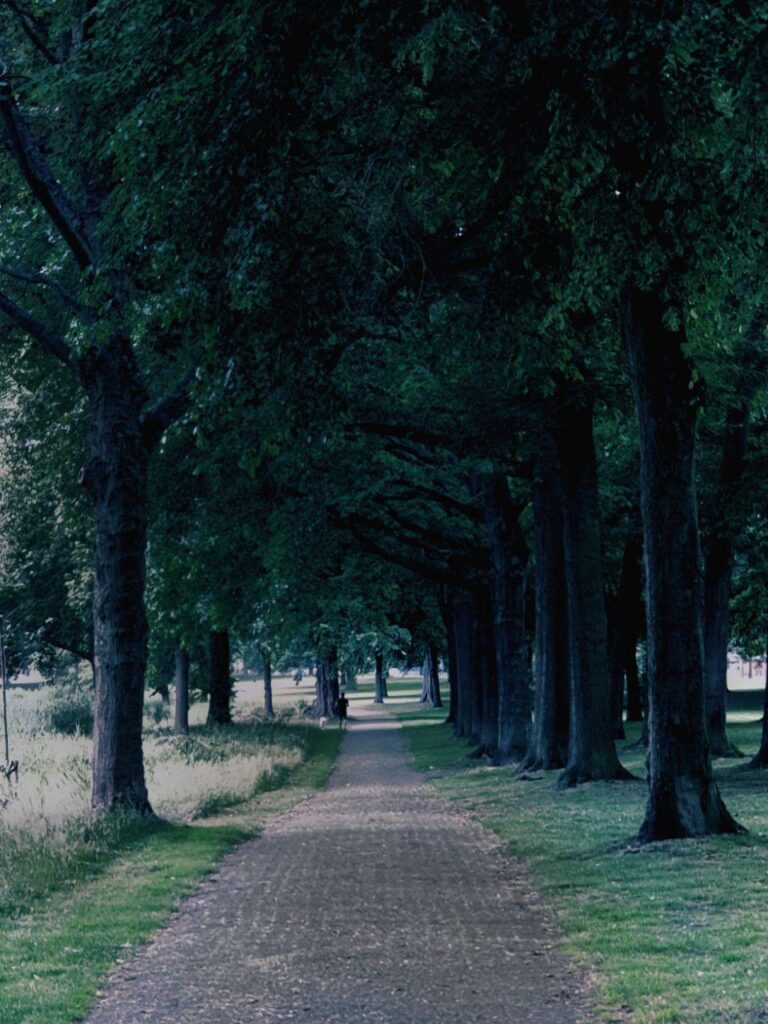
As always, starting and practicing are just fine. Here is an example of a photo I edited with Snapseed. As you can see you can get a more than fair result!
We have reached the end of this first chapter of what will be a new section of the blog dedicated to photo editing.
I hope you enjoyed this article and it gave you new photo inspiration for your next projects!
